Overwatch 2 for Beginners: One Incredibly Basic Tip for Each Hero
The game doesn't hold your hand, but we will

As I write this, the first wave of new Overwatch 2 players are just entering the competitive environment, and that means a lot of players are making mistakes that everyone else got over years ago.
Guides for Overwatch tend to focus on high-level play. You get advice on movement tech, animation canceling, Ultimate economy, map geometry, and other things that might be great for someone who's halfway up the ladder, but not so much for those still on the ground. This guide is not so complex. Here, you will see one trick for each hero, where the "trick" is usually something that you need to stop doing because it's getting you and/or your teammates killed.
This is written mainly from the perspective of a frustrated Support main. Show some mercy for the most underappreciated role - don't do anything that will give them an aneurysm.
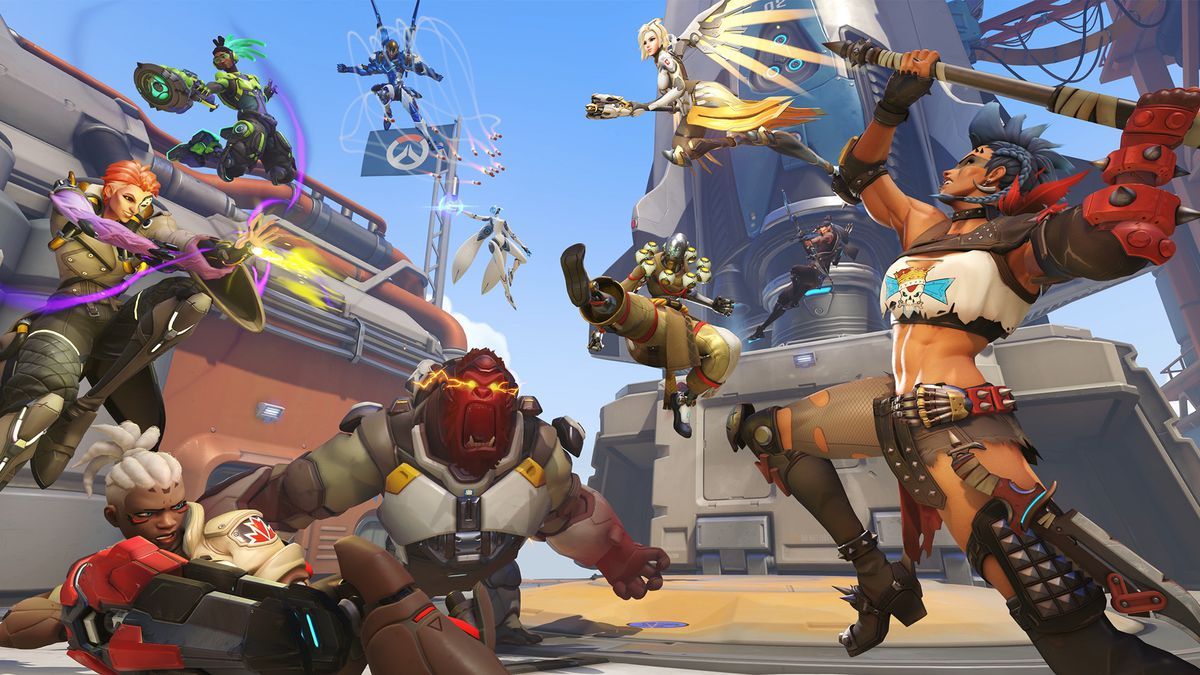
Tank
General
While the mechanics of the Tank role have changed a lot between OW1 and OW2, their job remains the same - control and contest objectives. This means that, as a Tank, you lead the charge and therefore need to be out front most of the time. If you are fighting behind your team, you are not playing the role right no matter what your stats say. Push back against the enemy and don't be afraid to take damage - it's why you have healers.
D.Va
Uniquely, D.Va gets a second chance if she runs out of life, which gives some players an inflated impression of her toughness. Assuming she doesn't get killed immediately upon being knocked out of the mech, D.Va on foot is just a very bad DPS with no abilities. If you are low on life, retreat back to your Supports rather than pushing deeper into the enemy ranks.
Doomfist
OW2 has been a little rough on Doomfist players, who now have to get used to a brand-new role. He is a Tank, not DPS, and that means he needs to lead the charge. My honest advice for low-level players would actually be "Don't play Doomfist," but if you do, keep your team in mind and don't completely abandon them. OW1 Doomfist tended to play from the flank and that might not work as well with his current kit.
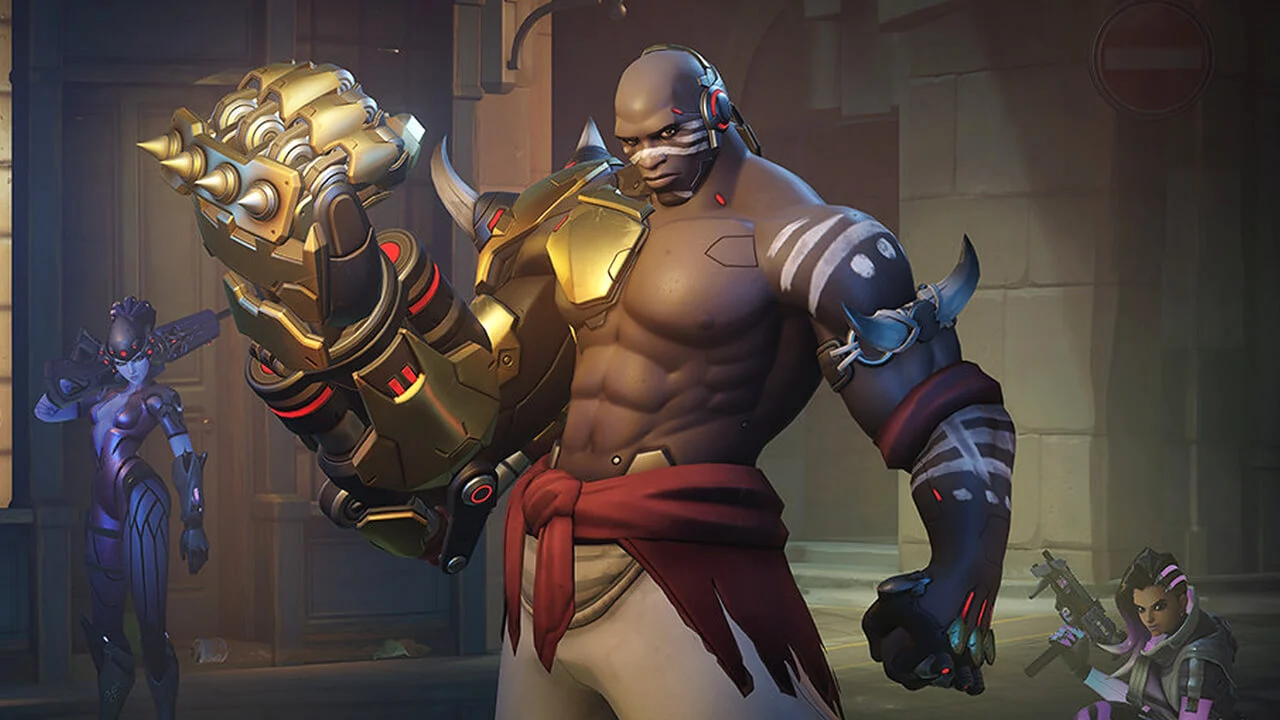
Junker Queen
The Queen is pretty much a third DPS with a little more life. While this might make for exciting play in the League, it does mean that your Supports aren't going to get the cover they may be used to. If you can't reliably land eliminations, Junker Queen might not be the hero for you.
Orisa
The OW1 version of Orisa was pretty passive - you could set your barrier up well ahead of you and then stay back from the fray while spamming fire. OW2 Orisa needs to be played much more aggressively than that. Remember, you can (and should) use her new Javelin Spin to physically shove enemy heroes off of the objective.
Reinhardt
Reinhardt's Charge is cause for more headaches than any other ability. Yes, charging from a long way away into the enemy team and getting a clean elimination is very dramatic, but it also leaves you cut off from the rest of your team and gives the enemy a chance to pour fire into your exposed back. Until you know how to use Charge properly, you might just want to forget that you have a Shift key at all. And if you hit it by accident, remember that you can hit shift again to cancel.
Roadhog
Chain Hook is the most important ability in Roadhog's kit, to the point where it's probably not worth playing Hog if you can't consistently land Hooks. Grabbing the enemy Tank with the Hook is obviously easy, but try and go for softer targets instead, especially Supports.
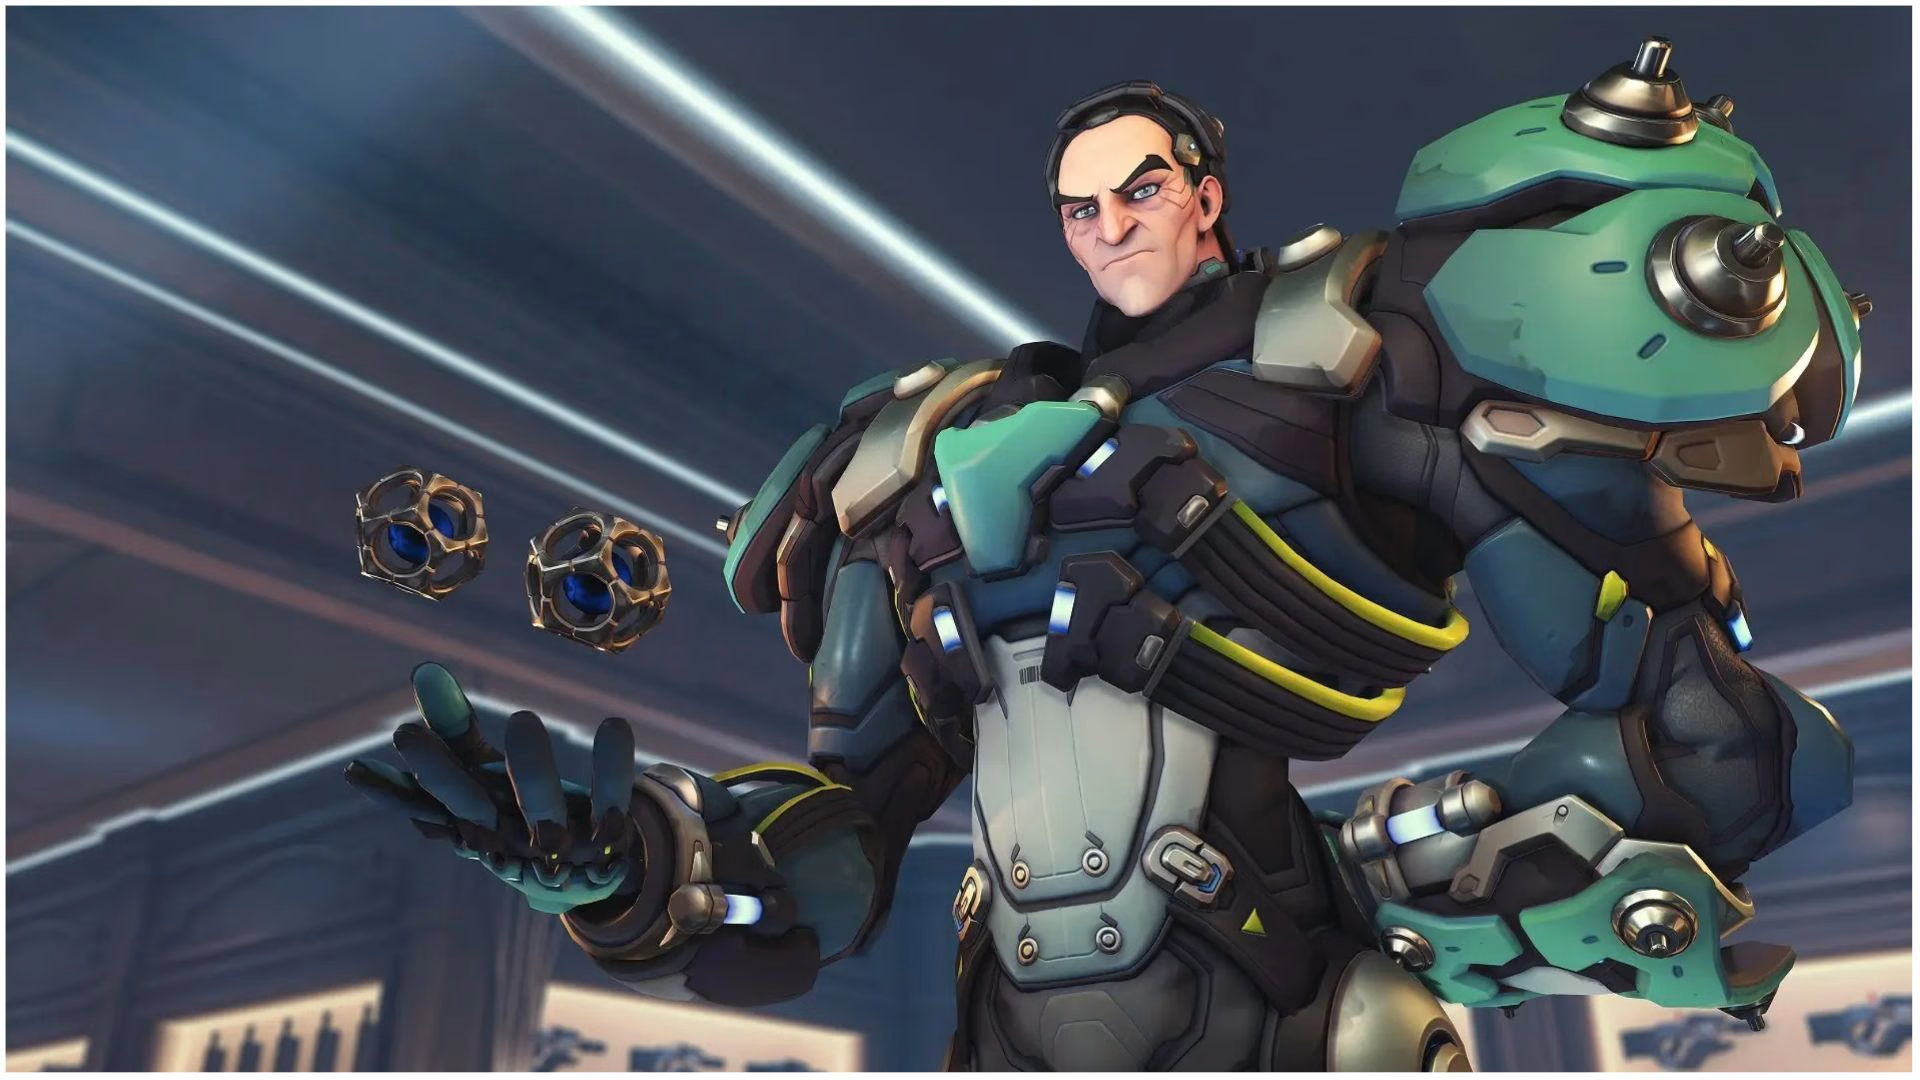
Sigma
It is very easy for Sigma to forget to withdraw his barrier if the fight moves to a new location. This is a problem not just for low-level players, but at middle and even high ranks - during a pitched fight, no one remembers that the barrier is sitting in the air half a kilometer away. Make a practice of right-clicking at the end of every fight so that your barrier can regenerate before the next fight starts.
Winston
With his high mobility, Winston is a lot more aggressive than other Tanks, but don't just launch yourself in when the fight starts - you run the risk of being cut off if you leap in too early. Save your jump for later in the team fight when you can take down some low-health targets. Winston's new long-range secondary fire should give you something to do before that opportunity presents itself.
Wrecking Ball
Several maps feature an objective with a central pivot around which Wrecking Ball can spin indefinitely. This is effective when you need to stall the objective (i.e. the opponent it about to make a winning capture and your team isn't back yet), but when your team controls the objective, it tends to be a waste of time. In those situations, you should instead stay on the move and hassle the enemy team as they try to mass on the objective.
Zarya
Graviton Surge, Zarya's Ultimate, takes a long time to charge up and does very little on its own, but it combos magnificently. If you have a Surge ready, save it for when one of your allies also has a damaging Ultimate ready and you can easily land a team wipe. Unless you have very high weapon charge, firing in the Surge when you are by yourself will just waste the Ultimate.
Damage / DPS
General
With one less Tank to hide behind, Damage heroes in OW2 are far more vulnerable than in the previous version. Most of these characters are not built to fight on the front line and will die very quickly if they try. As a DPS, take full advantage of the architecture - high ground, cover, flanking avenues - to increase your survival.
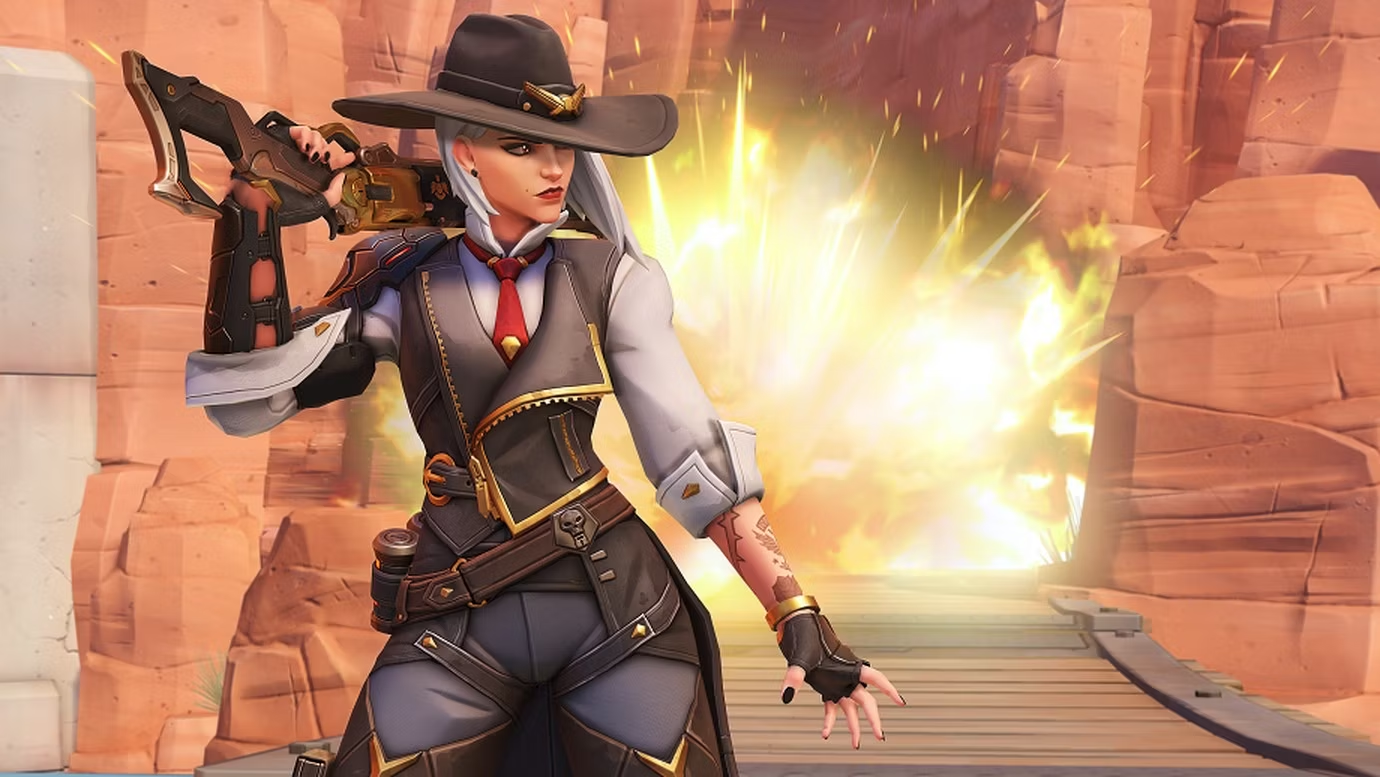
Ashe
While hhe is technically weaker than in OW1, B.O.B. - Ashe's Ultimate - is more impactful simply because there are fewer players on the field at once. However, he isn't exactly a "Press Q to win" Ultimate and needs to be used properly for maximum effect. Sending him to contest an objective or hold a choke point are both effective, but getting him into the back ranks where he can take out the Supports might be the best play if you can manage it.
Bastion
As of this writing, Bastion is actually out of the game as Blizzard tries to fix a nasty exploit in his Ultimate. When he does return, please remember that his large profile and giant hitbox make him an easy target; try to play around the terrain and your Tank.
Cassidy
If an enemy gets very close, using Cassidy's fan-the-hammer secondary fire makes more sense than using primary fire. True, you might land two clean headshots, but that gives your opponent enough time to finish you off. Fanning the hammer at close range will kill most softer targets, and if you do miss you can do a Combat Roll to reload and try it again.
Echo
In OW1, the best use of Echo's Ultimate was to duplicate one of the enemy Tanks, but that might not be the play in OW2 where Echo maintains her low health when transformed. Instead, pick out the enemy with a powerful Ultimate and enough damage/healing to charge it quickly. Usually, this will be a DPS, but some Tanks (Sigma, Junker Queen, D.Va) and even Supports (Ana, Kiriko) can also work. Remember, Echo can potentially throw out two Ultimates while duplicated if she can deal enough damage.
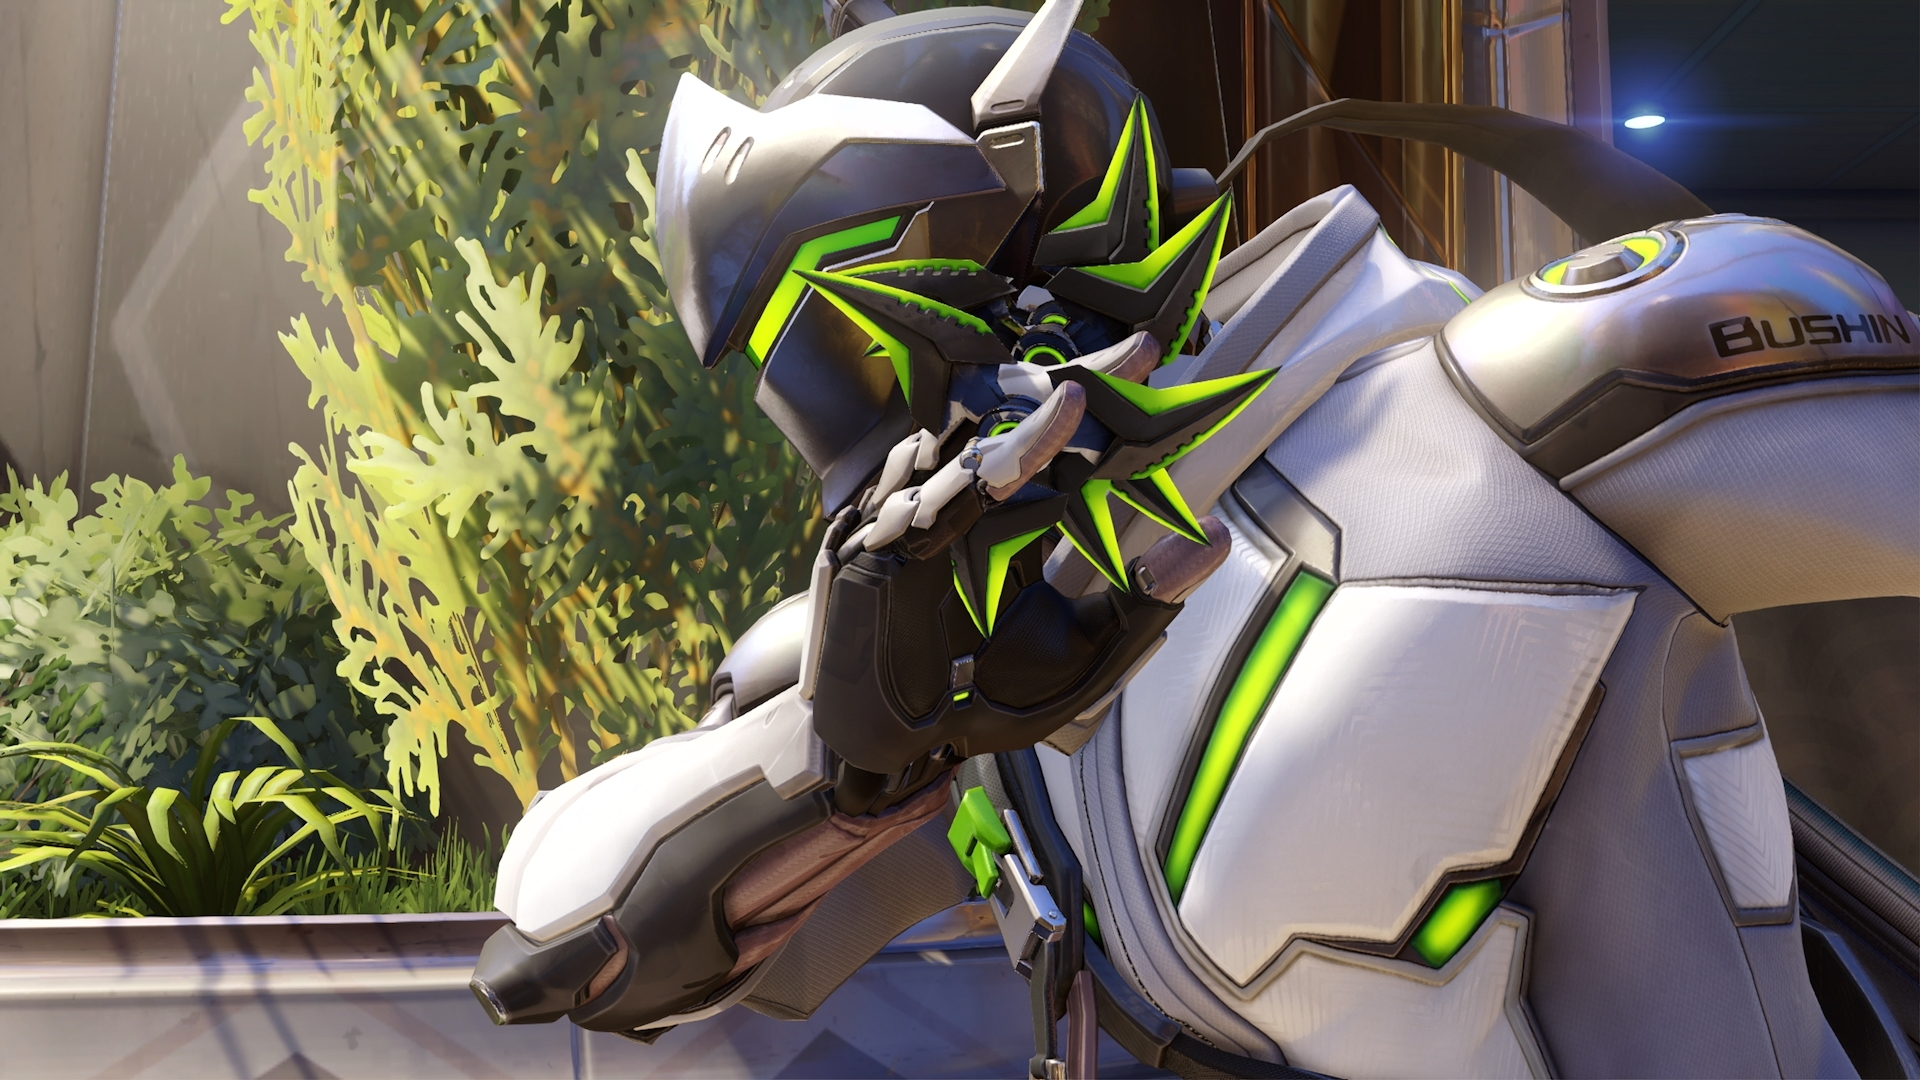
Genji
It's important to know the limitations of Deflect. Genji can send a lot of attacks back at his opponents, but he can't block beam and particle weapons such as those used by Zarya, Mei, and Moira. If you find yourself cornered by one of these heroes, you'd be better off trying to retreat using Swift Strike rather than wasting Deflect.
Hanzo
While most Damage heroes have issues with getting too close to the fight, it's a particular problem for Hanzo. Your arrows can hit and kill targets from across the map, so there's no need to push to the front line. Stay aware of your surroundings, including the kill feed. If the fight is moving toward you or you are losing teammates, retreat and reposition as quickly as you can.
Junkrat
Junkrat is a highly mobile hero with an indirect fire primary weapon that lets him hit opponents that he can't see. Therefore, there's no real reason to see him out in the open where he's an easy target for heroes with longer-range weapons. Take advantage of your strengths and keep terrain between Junkrat and the enemy team to avoid a cheap death.
Mei
Mei's Ice Wall is one of the most ridiculous abilities in the history of first-person shooters. The main function is to split up the enemy team, separating the Tank from the Supports and preventing vulnerable targets from retreating. Dropping the wall between the two teams does nothing most of the time (especially since the wall is much weaker in OW2), and it may even backfire if one of your teammates was throwing in an Ultimate. Unless you need to stall the enemy team for a few seconds because you're on the verge of winning, be a little more cautious in how you place your walls.
Pharah
Pharah has a few enemies - namely Ashe, Cassidy, Sojourn, Soldier: 76 and Widowmaker, all of whom can easily shoot her out of the air with their hitscan weapons. If the enemy team contains one of these heroes, then Pharah might not be the best choice. Conversely, if the enemy team has a Pharah, switching to one of these heroes to counter her is the best way to keep your Tank from having a fit.
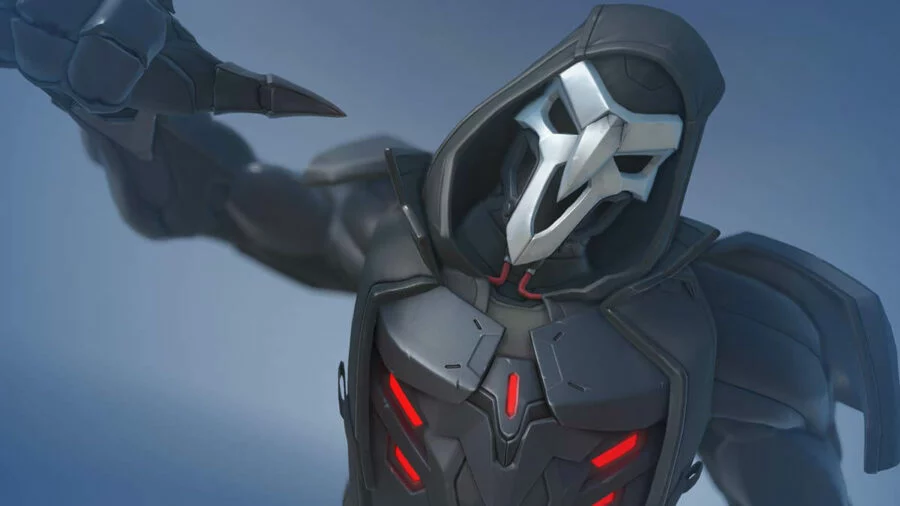
Reaper
The damage falloff on Reaper's shotguns is so intense that you need to treat them as though they were melee weapons. This means fighting opponents by ambush so that you don't get killed before getting into range. Running straight at an enemy while firing wildly might actually work at low levels of play, but that technique will let you down in the long run - especially if you don't remember to retreat when your life is low.
Sojourn
Sojourn can get a significant vertical boost by jumping out of her Power Slide, making it easy to reach positions of advantage. Therefore, there really isn't any reason to fight down on the ground where one is vulnerable and has a harder time hitting weak targets. Stay off the low ground unless you are being pressured by an enemy flanker or need healing.
Soldier: 76
Soldier's ability to self-heal makes him more independent than most DPS heroes, but don't overestimate how tough this makes him. Biotic Field is most effective in duels and when ample cover is available. If you are taking fire from multiple opponents or an enemy gets very close, retreating makes more sense than trying to outlast the enemy.
Sombra
Sombra's ability to warp out of a fight makes her extremely hard to kill. However, if all you're doing is getting behind the enemy team, hacking a random target, and warping out, then you aren't contributing much. If you can't isolate any enemy heroes, you might be better served by switching to another DPS with more raw power.
Symmetra
Symmetra's teleporter now times out, so the old trick of dropping it outside of your spawn point to slightly accelerate the return won't work all that well. If you are playing Symmetra, take full advantage of the teleporter to move your allies into unexpected positions. This may require some communication, but it will pay off.
Torbjorn
Torbjorn's turret is neither as powerful nor as durable as you might think. Put a turret within the enemy's line of sight and it will go down very quickly. The turret is best placed either at an odd angle where it can catch the enemy team by surprise, or in the back ranks of your own team where it will have some cover.
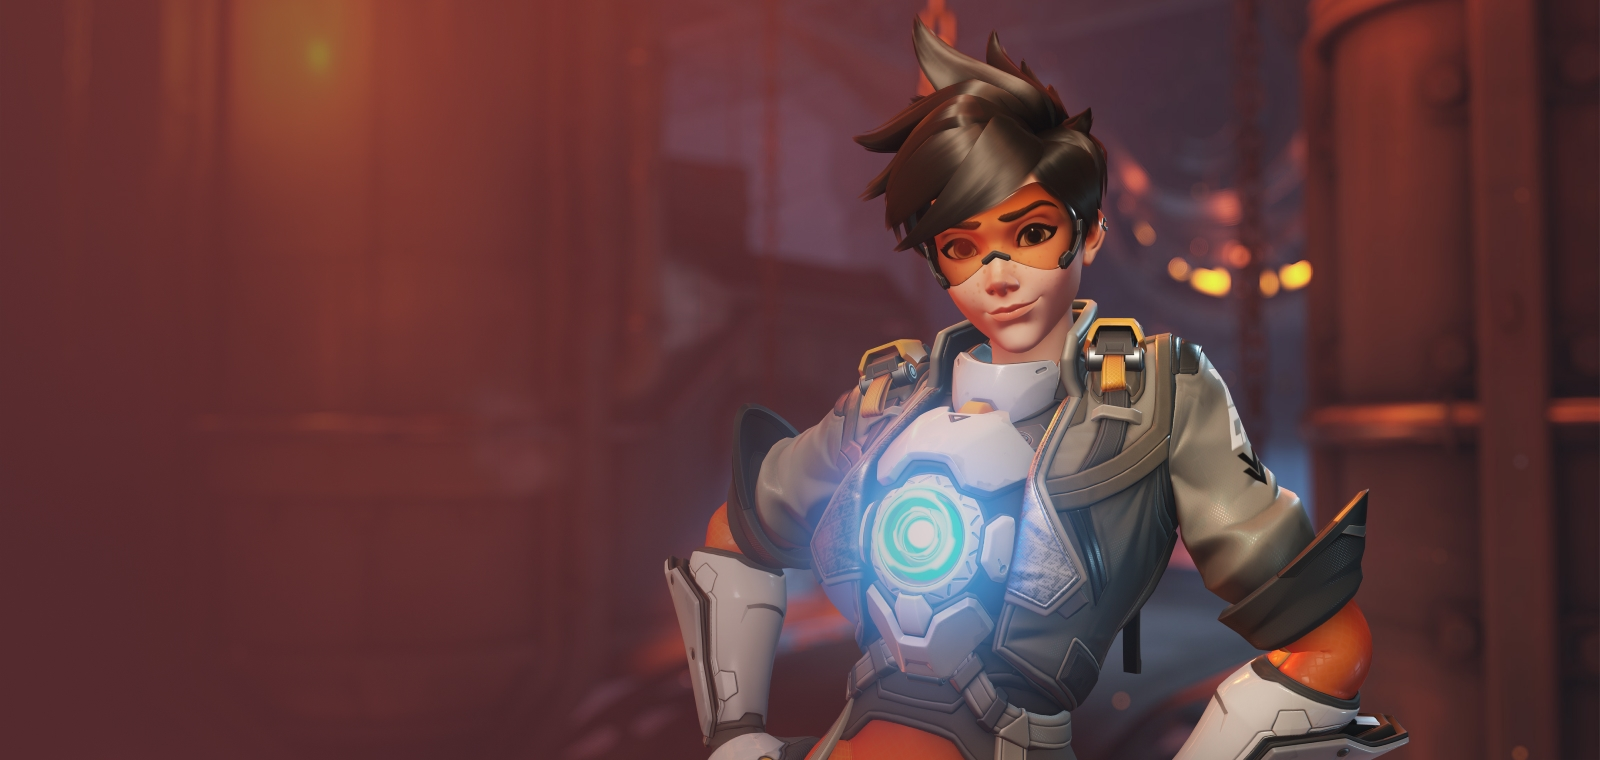
Tracer
There's no hero more dependent on their movement abilities than Tracer. When she's out of Blinks and Recall is on cooldown, Tracer is extraordinarily vulnerable, to the point where even the enemy Supports can take her out easily. Pay close attention to all your cooldowns and don't attack unless you have some means of escape. You don't always need to retreat back to your team, but without any means of escape, you are setting yourself up for an easy death.
Widowmaker
The main function of Widowmaker's Grappling Hook is to reach high ground, but it can also be used as an escape tool if an enemy hero gets close. Given her fragility and low damage output at close range, using the Hook to retreat behind your team is a wiser choice than trying to win a hand-to-hand duel.
Support
General
Supports in OW2 are much more aggressive than they used to be, but their primary role is still healing. It's easy for selfish Supports to get the impression that they are doing well simply because their teammates are always dead and therefore lag in their stats. By all means, go for picks, but make sure that the non-Supports are staying in the game.
Ana
Nano Boost, Ana's Ultimate, requires more coordination than most Ultimates as it is dependent on the recipient to get value out of it. If Nano Boost charges up between fights, let the intended target know that you will be boosting them so that they are prepared when the fight starts. And as with Graviton Surge, saving Nano Boost for when a teammate has a high-damage Ultimate is usually the smartest move.
Baptiste
Immortality Field is not a general defense buff. All it does is stop your team's health from falling below 20%, which means that throwing it out at the beginning of a team fight - when everyone's health is full - is a waste of a powerful ability with an extremely long cooldown. Save the Field to no-sell an enemy Ultimate (especially something like RIP-Tire) or rescue a teammate who is on the verge of death.
Brigitte
Brigitte's shield gives you a little more survivability if you have to approach the enemy head-on, but you're still not Reinhardt and you'll go down fast if you're reckless. Since most of your attacks are melee range, using the terrain and attacking from ambush can be very effective. Force the enemy to come to you - if you're lucky, you can get into their backline and raise havoc with their Supports.
Kiriko
It is possible to use the moment of invulnerability from Protection Suzu to survive an Ultimate, but the timing is extremely difficult. A more reliable application is to cleanse status conditions such as hack, sleep, and anti-heal. The ability to completely undo the effects of a well-placed Biotic Grenade can quickly turn a losing fight around.
Lucio
Lucio's high mobility, speed, and crowd control give him the ability to pull off spectacular plays...if you have the skill necessary to pull them off. Lower-level players who try to emulate the crazy Lucio plays they see in videos are more likely to die early and frequently. You'll get a lot more value if you stick close to your team (especially the other Support) and react based on the circumstances.
Mercy
Resurrection is a very powerful ability that is both difficult and risky to use. You are immobile when using it, making it very easy for an enemy player to kill you at his leisure. If one of your teammates has overextended, then flying over to rez them will usually result in you dying - and, possibly, that hero dying immediately if they are still behind the enemy team. Only rez targets when you have some cover to do so.
Moira
As much as some people may wish otherwise, Moira is not a DPS. She is good at confirming kills on low-health targets, but her damage output is very low, so if you're always on the attack then you are letting your team down. By all means, go for the easy picks, but Moira still needs to spend most of her time and effort healing.
Zenyatta
Orb of Discord is a much more powerful ability if used with a little communication. Effective Zenyatta players will call out the targets of Discord over voice chat so that the rest of the team can focus on the vulnerable target. With practice, you can use this to direct the actions of your teammates by designating the opponent you wish them to go after.
Join the conversation
What do you think? Reply below to share your perspective.